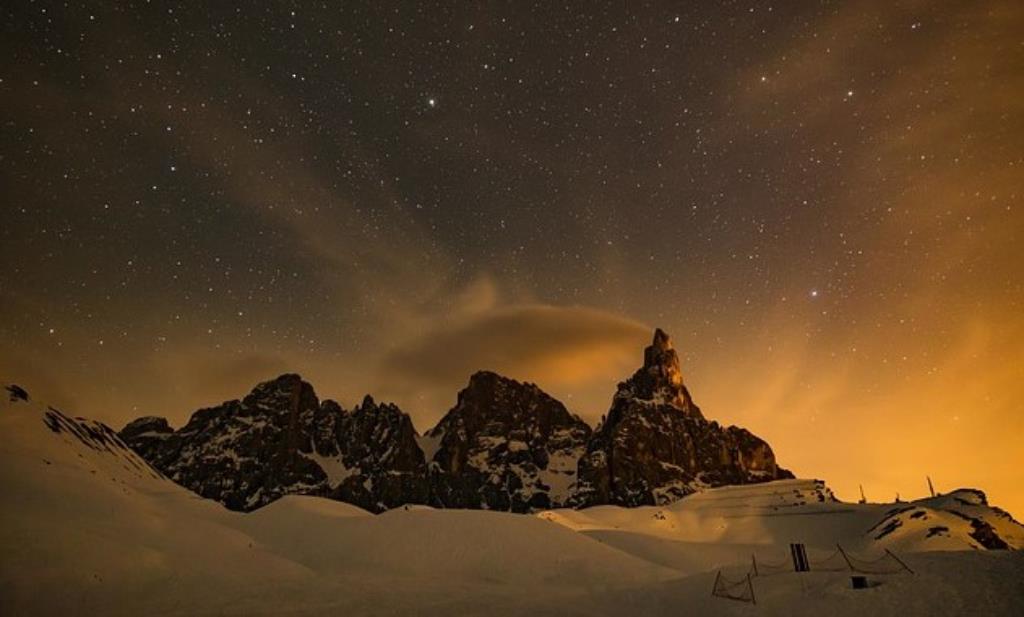
Adding stars to the landscapes may take your photo to the next level by adding an element to your frame. Astrophotography needs planning to get the results you want. Once you understand the basics of astrophotography, you are more likely to take pictures that you enjoy and share with your friends and family.
Gear for Astrophotography
1. Camera body
Since some cameras produce cleaner results than others at higher ISO, most mirrorless and DSLR cameras in the market may have high-quality results for the past five years. The features that facilitate remote control options and long exposures through smartphone apps are ideal.
2. Lens choice
The correct lens makes all the difference at night. Preferably, the lens’s maximum aperture should be not less than ƒ/2.8. Sometimes, the prime lenses offer faster apertures, which may be a big plus for capturing different aspects of the foreground and sky aspects. Choosing a sharp edge-to-edge lens is also essential. As the edges of the frame are filled with pinpoint stars at night, lens aberrations are much more noticeable.
When choosing the focal length, do not just focus on the customary ultra or wide-wide-angle lenses utilized in astrophotography. Usually, these are good options, but choose the focal length based on the composition.

3. Tripod
The exposure time at night may range between 5 and 30 seconds, or even much longer, given you need to capture the star trails. The camera must remain firm during these exposures to obtain a sharp image. A strong tripod is essential.
4. Shutter release
If the camera does not have a Smartphone app that allows the remote control, the mechanical shutter release cord or the hardware remote will help prevent the camera shake from the manual pressing of the shutter button.
Suppose you do not have any; set your shutter delay timer of the camera to about five seconds to eliminate camera shake when activating the shutter. However, all remote controls are essential equipment when capturing multiple photos for the stars, meteor showers, or when shooting on the bulb exposure mode.
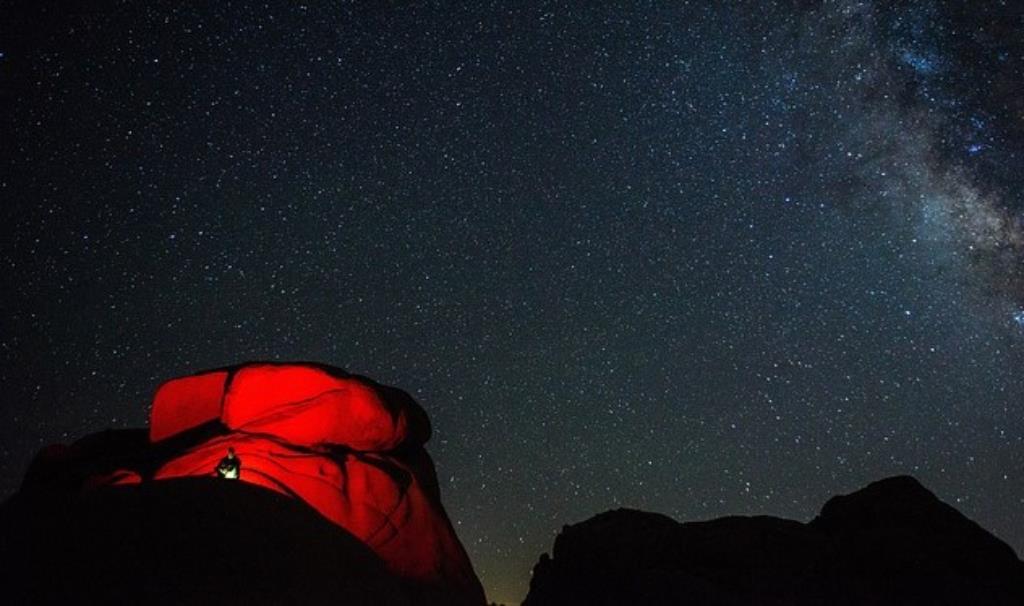
5. Head lamp
The trail illumination is a safety device at night, particularly in desert areas with the best astrophotography conditions. The headlamp’s red light helps keep night vision fast and provides enough visibility for safe navigation.

How to shoot astrophotography
1. Plan your shoot
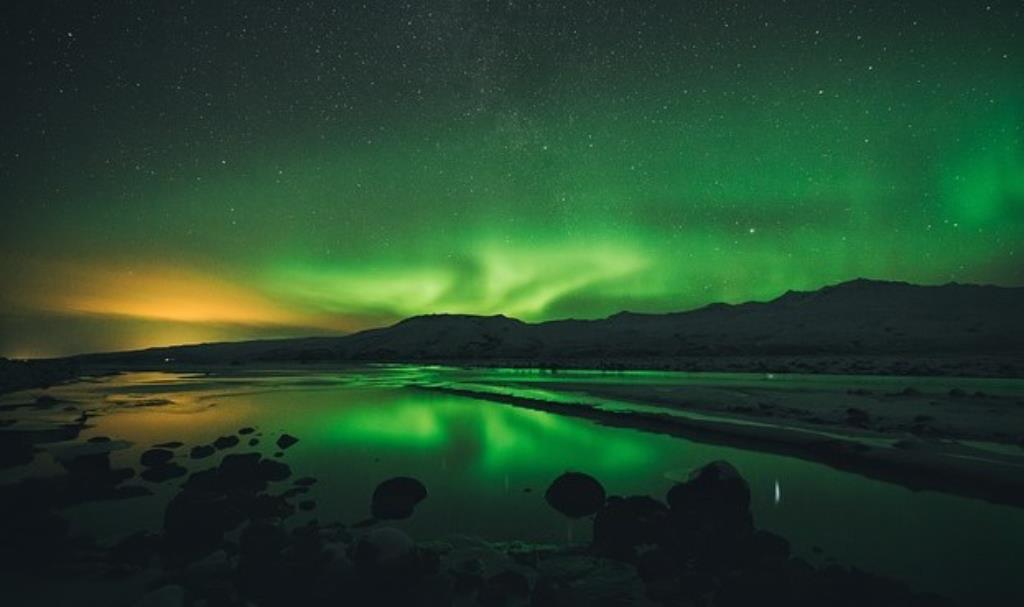
Many factors influence the capturing of a night sky. One of them is being in the correct place at the right time. Luckily, thanks to the abundant technology today, it’s never been simpler. In New Zealand, the Milky Way’s galactic core is just visible between February and October, and June and July are best when the center is at the brightest. Also, you should ensure that the moon is not visible, as it can wash away the Milky Way in the photos.
To view the stars, you should have a clear and dark sky. To maximize the stars’ sharpness in the photo, try to stay as distant from cities. The light pollution map can be found at home. This page illustrates the best place to locate the dark skies. If you need to see the stars, there is a need for a clear sky. A site that lets you find parts near you that are clear at night forecasted.
2. Shutter speed
The rule of thumb for shutter speed in astrophotography is 10 to 30 seconds, depending on the focal length. Typically, the higher the shutter speed, the lesser the ISO used, but the shutter speed too long can blur the stars as the Earth rotates. Use 500 rules to determine the shutter speed you may use without blur stars. The rule of 500 performs by dividing 500 by focal lengths; as a result, 500/15 = 33.33.
Typically, when utilizing a 15mm lens with a full-frame camera, you may use the shutter speed of about 33 seconds before you get blurry stars. When using the APSC sensor camera, multiply the lens’s focal length by 1.6. This suggests that using the 15-mm lens with the APSC camera is equivalent to using a 24mm packed frame lens. As a result, you’ll be required to just divide 500 by 24, which will give you a max exposure of 20.8 seconds before you start seeing blurry stars.
3. The aperture
You require setting the aperture as wide as possible. Immediately when the pupil of the eye opens when you walk into a dark room, try to let in as much light as possible. If the lens’s maximum aperture is f2, set the lens to f2 and then leave it. The large aperture allows a lot of light to enter the lens and, therefore, the sensor.
4. ISO
The ISO should be used depending on the location. In places close to towns or cities, you may get about 2000ISO, though, in darker areas, you get the most excellent results with the ISO of 5000 to 12000. In general, the image will be grainier if the ISO is higher. However, you may sometimes get more desirable results at a higher ISO because it reveals more detail in the image. Try ISO between 2000 and 12000 to see what works best.
5. Focusing
Focusing in the dark can be extremely difficult. Fortunately, the modern cameras contain a feature known as the Live View. It shows things the camera can see on the rear screen. Typically, this is important when photographing the night sky because it lets you focus on the stars manually.
Point the camera at the star, the brightest you discover, and place it in the center of the screen. Zoom the stars on the rear screen and adjust the focus till the star is small. Another way to focus is to automatically focus on a distant subject during the day, such as a mountain. This may prevent you from losing focus and bumping the focus ring.
6. 2-second timer
You can use the remote shutter release to prevent the camera from blurring and shaking. If you do not have one, you may use the 2-second timer. The hands will not shake on the camera when you’re trying to take a picture.
Conclusion
The most significant step to shooting astrophotography is going out there and carrying it out. Nothing is simple, and the more time you try, the more you get it right. Also, the more you attempt fresh things in shooting, the more you will test and develop your skills. So, follow the above steps on how to shoot astrophotography, and you will be perfect.