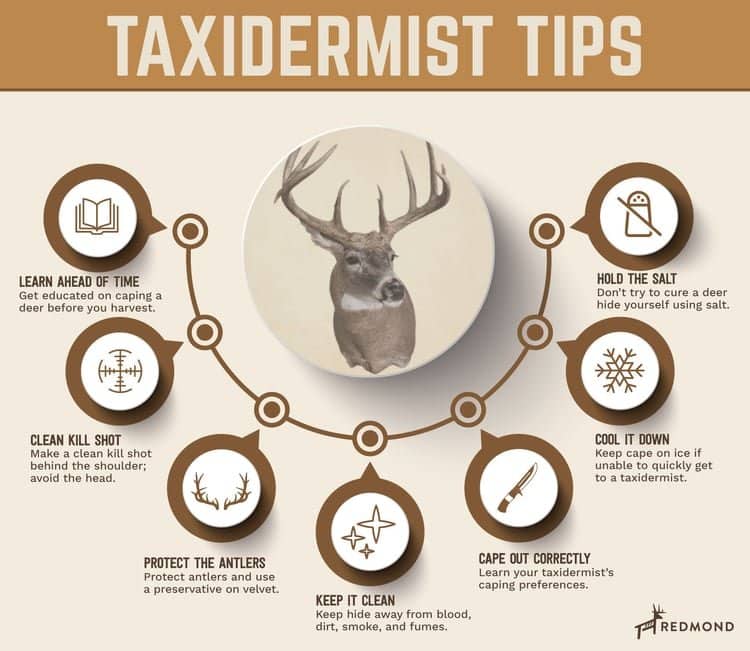
To hang a deer mount, locate a wall stud and use a sturdy hanger rated for the mount’s weight. Secure the hanger to the stud and hang the deer mount onto it, ensuring it is level.
Displaying a majestic deer mount on your wall can bring a touch of wilderness into your home, serving as both a conversation piece and a testament to a hunter’s skill. Properly hanging a deer mount not only showcases the animal’s grandeur but also ensures the safety and longevity of the display.
Choosing the right location for your deer mount is crucial for optimal viewing and for complementing your room’s décor. The process requires basic tools and attention to detail to make a striking impact in any space. By following best practices, your deer mount will be secured safely and elegantly for you to appreciate for years to come.
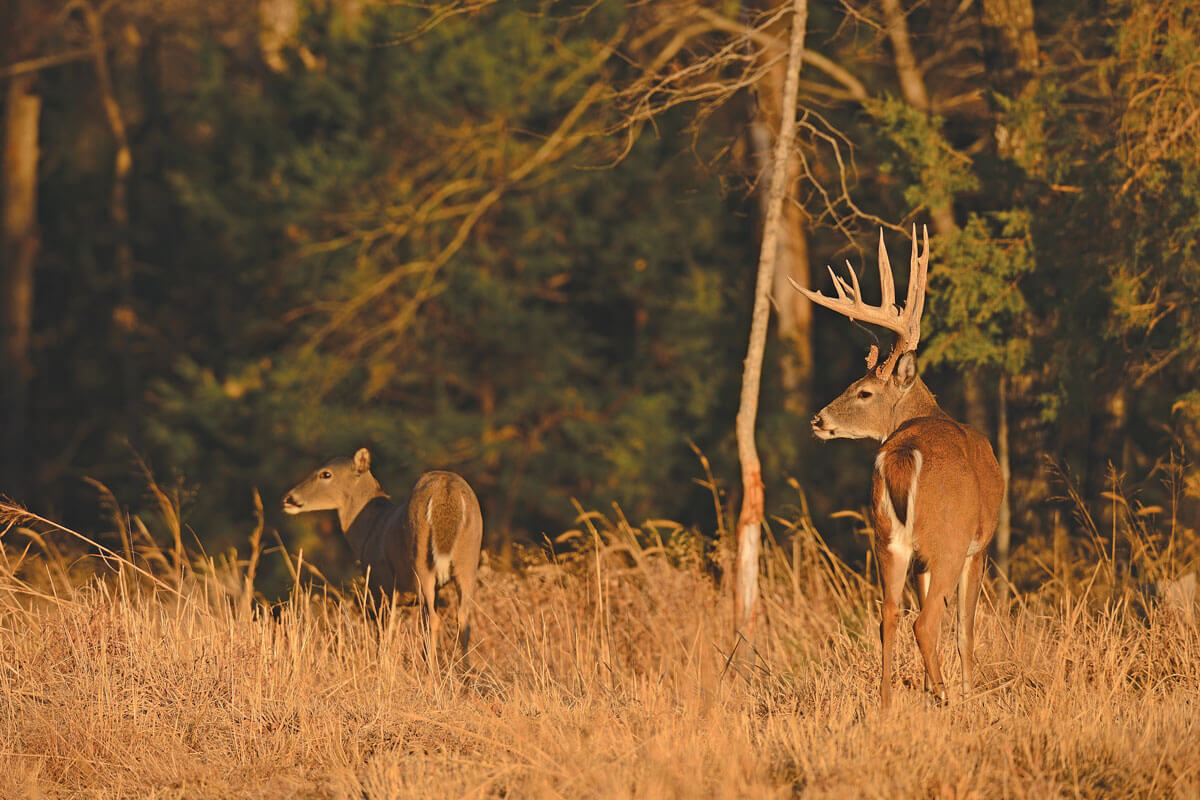
Credit: www.bowhuntingmag.com
Contents
Selecting The Perfect Spot For Your Deer Mount
Choosing where to display your deer mount is not just a matter of preference. It’s about finding the ideal balance between visibility, space, and support. The right spot will honor your trophy and enhance your room’s decor. Let’s explore the factors that will lead you to the perfect location.
Assessing Wall Strength And Space
Before hanging your deer mount, it’s crucial to check the wall strength. Drywall alone might not hold up. Look for a stud where you can secure the mount. Use a stud finder to locate one. Ensure there’s enough space around the mount. Give it at least three feet of clearance to prevent cluttering.
Consideration Of Light And Visibility
Light brings your trophy to life. Place the deer mount away from direct sunlight to avoid damage. Artificial lighting, like spotlights, can enhance features. Ensure the mount is placed at eye level for maximum impact. This makes it easily visible and the room’s focal point, without straining the viewer’s neck.
Credit: www.ncl.com
Tools And Materials Needed
Ready to showcase your prized deer mount? Setting up your trophy takes precision, but before diving into the process, ensure you have the right tools and materials at hand. This guide details exactly what you’ll need to prepare for a smooth installation.
Basic Mounting Supplies
Gather your supplies before you start. It’s essential for a successful mount setup. Here’s a checklist:
- Stud finder: To locate studs in your wall for secure mounting.
- Drill and drill bits: For pre-drilling holes in the wall stud.
- Screwdriver: To tighten screws firmly.
- Level: To ensure the mount hangs straight.
- Measuring tape: For precise placement.
- Wall mount bracket or hanger: The base that will hold the deer mount.
- Screws and anchors: To affix the bracket securely to the wall.
Choosing The Right Hardware For Your Wall Type
| Wall Type | Hardware |
|---|---|
| Drywall with Stud | Wood screws |
| Drywall without Stud | Toggle bolts or heavy-duty anchors |
| Brick or Concrete | Masonry screws and a masonry drill bit |
| Plaster | Toggle bolts or anchors specially designed for plaster |
Match your hardware to your wall type for a sturdy mount. Unsure about your wall? Consult a professional.
Preparing The Mount For Hanging
Welcome to the exciting process of adding that rustic charm to your space with a deer mount. With the mount ready to grace your wall, the right prep ensures a display that is both secure and visually appealing. Let’s walk through the steps to correctly prepare your mount for hanging.
Securing The Mounting Bracket
First and foremost, attaching a solid mounting bracket is crucial. This hardware will support the weight of the mount and keep it fixed in place. Follow these instructions:
- Select a high-quality bracket that matches the size and weight of your deer mount.
- Locate the center of gravity on the back of your mount for the bracket placement.
- Using a screwdriver, securely fasten the bracket on that spot.
- Ensure the bracket has multiple contact points to distribute weight evenly.
The right bracket ensures your mount stays in place for years to come.
Checking The Stability Before Lifting
With the bracket in place, it’s time to test the stability before lifting. This step is vital to ensure your safety and the mount’s security. Adhere to the following:
- Gently tug on the bracket to check for any movement.
- Confirm all screws are tight and the bracket does not loosen.
- If wobbling occurs, reinforce the attachment with additional screws.
Assuring the sturdiness of the bracket means you’re ready to hang without hiccups.
The Mounting Process
Before displaying the majestic sight of a deer mount, it is crucial to understand the mounting process. A solid approach ensures the deer mount is both secure and visually appealing. Follow these steps for a rewarding result.
Step-by-step Hanging
Properly hanging a deer mount is simple with this guide. Ensure you have the right tools and follow each step with care.
- Locate the stud in your wall using a stud finder.
- Mark the stud with a pencil where the mount will hang.
- Drill a pilot hole into the stud, slightly smaller than the screw.
- Screw the hanger into the pilot hole until firm.
- Attach the mount by carefully aligning it with the hanger.
- Ensure the mount is securely in place before letting go.
Adjustments For A Level Display
To ensure your display looks perfect, small adjustments may be needed. A level display adds a professional touch to your wall.
- Use a level tool to check the mount’s horizontal alignment.
- Adjust the mount slightly up or down to center it.
- Tighten any screws or bolts to fix the position.
Take a step back and enjoy your perfectly leveled deer mount. It will now be a striking centerpiece in your space.
Finishing Touches
Giving your deer mount its rightful grandeur requires tending to the details that make your trophy shine. The final steps—concealing hardware and cleaning—ensure a seamless display of your prized deer. Follow this guide to add those professional, eye-catching finishing touches.
Concealing Mounting Hardware
Once the deer mount graces your wall, the focus should be on the majestic creature, not the means by which it hangs. A clean, hardware-free appearance enhances the overall effect. Keep an eye out for these simple yet effective tactics:
- Choose the right hanger: Select one that fits well behind the mount.
- Paint the hardware: Match it to the wall or mount for added camouflage.
- Use decorative covers: These specially designed caps can hide screws and bolts.
Cleaning The Deer Mount For Presentation
A pristine deer mount captivates and tells a story of success. Dust and dirt can distract, so ensuring a spotless display is crucial. Simple steps can keep your mount in prime condition:
- Dust regularly: Use a soft cloth or brush to remove surface dirt gently.
- Clean the antlers: Wipe them with a damp cloth and dry immediately.
- Attend to the fur: A light vacuum with an upholstery attachment works wonders.
And remember, never use harsh chemicals—always opt for mild cleaners if necessary.
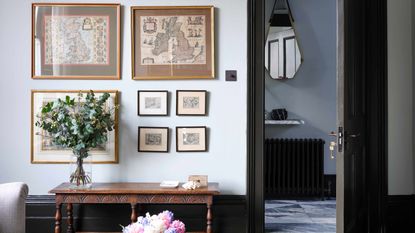
Credit: www.livingetc.com
Frequently Asked Questions Of How To Hang A Deer Mount
What Is The Best Height For A Deer Mount?
The ideal height for hanging a deer mount is eye level, which averages around 5 feet 7 inches from the floor. This positioning allows for an optimal viewing angle and simulates the natural position of the deer in the wild.
How Do You Secure A Deer Mount To The Wall?
To secure a deer mount to the wall, use strong wall anchors or a stud finder for mounting directly to studs. Fasten a secure wall hanger on the mount’s back and ensure it is properly leveled before attaching it to the wall.
Can You Hang A Deer Mount Yourself?
Yes, you can hang a deer mount yourself with basic tools. Have a drill, screws, wall anchors, hanger, and a level on hand. It’s important to follow the mount’s instructions and safety guidelines for a secure installation.
What Tools Are Needed To Hang A Deer Mount?
Required tools for hanging a deer mount include a drill, screws or nails, wall anchors for drywall, a sturdy wall hanger, and a level to ensure even placement. Optionally, a stud finder can provide extra support.
Conclusion
Hanging your deer mount can elevate your space with a touch of wilderness charm. With the right tools and patience, creating that focal point is simpler than ever. Remember, measure twice, secure firmly and step back to admire the craftsmanship.
Happy hanging, and may your deer mount be a conversation starter for years to come!

