
Hanging a deer in a garage is a common method for game processing. It allows for proper aging and easier butchering of the meat.
Hunters often hang deer to age the meat, which can enhance flavor and tenderness. A garage provides an ideal space for this, as it offers shelter and an environment where temperatures can be relatively controlled. This step in game processing is crucial for many, as it ensures the venison is safe and delicious to eat.
Typically, a deer is hung by its hind legs, allowing gravity to assist in draining blood and for easier access during skinning and butchering. The process requires some basic equipment, like a gambrel and hoist, and knowledge of proper temperatures and humidity levels to prevent spoilage. Properly hung deer guarantees that the hard work of hunting culminates in the best possible dining experience.
Contents
Deer Hanging Basics
Welcome to the essential guide on deer hanging in your garage! This practice is crucial for hunters looking to age their game, enhancing both flavor and tenderness. We’ll cover everything from the importance of proper hanging techniques to the tools you’ll need. Let’s dive into the deer hanging basics and get your garage ready for the season!
Importance Of Proper Hanging
Proper hanging is critical for several reasons. It allows for the natural process of aging. This helps in breaking down tough muscle fibers. Here are the key benefits:
- Meat texture improvement: Aging tenderizes the meat.
- Flavor enhancement: Aging concentrates the flavors.
- Prevent spoilage: Correct hanging inhibits bacteria growth.
Equipment Needed For Deer Hanging
Ready to hang your deer? Make sure you have the right tools. Below is a list of essential equipment:
| Equipment | Description |
|---|---|
| Gambrel and Hoist | This combo lifts and secures the deer. |
| Pulley System | Facilitates easy lifting of heavy game. |
| Cooling Fans | Ensure consistent air circulation. |
| Meat Thermometer | Monitor the temperature for safety. |
| Sharp Knives | For skinning and butchering as needed. |
Preparation Steps
Before preserving your prize deer, preparation is key. This guide ensures you start correctly, covering two critical steps: field dressing and spot selection. Properly managed steps mean less mess and a better outcome.
Field Dressing Prior To Hanging
Field dressing is the first task post-harvest. It’s vital for meat quality. Start by wearing gloves for hygiene. Find a flat area. Use a sharp knife. Make a careful incision. Remove innards with care to avoid meat contamination. Keep the carcass cool to slow bacterial growth. Proper field dressing keeps your meat safe and preserves its flavors.
Selecting A Suitable Location
The right hang spot is crucial. Your garage is ideal for deer hanging, but it must be prepped for the task. Look for these elements:
- Cool Temperature: The area should stay below 40 degrees Fahrenheit to prevent spoilage.
- Air Circulation: Good airflow helps with the drying process.
- Accessibility: Easy access for monitoring and eventual processing.
- Space: Ensure enough room to work around the hanging deer.
- Security: Keep out pests and pets to protect your deer.
Ensure the ceiling can support the weight. Install a heavy-duty hook or gambrel. Use a pulley system, if needed, for hoisting.
Hanging Techniques
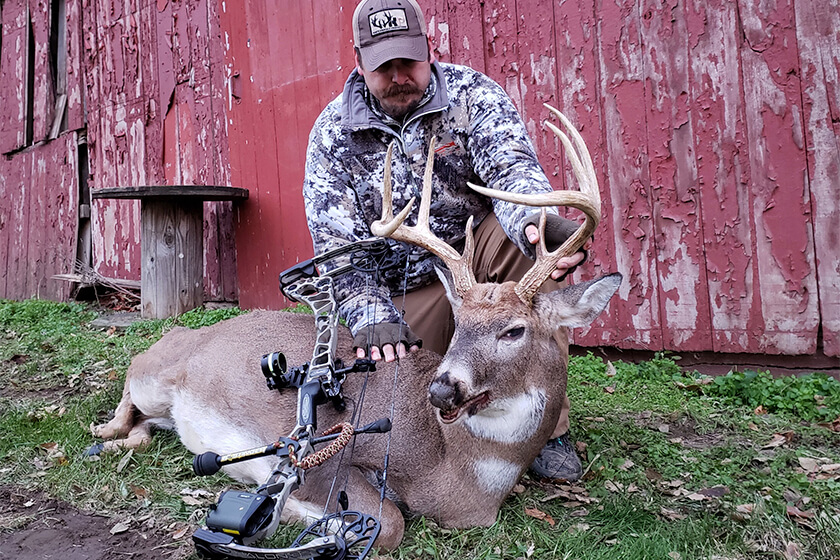
Knowing how to hang a deer properly is crucial for the aging and butchering process. The right technique ensures easy access to the meat and optimal cooling. Let’s explore the two popular methods: head up versus head down and using a gambrel for balance.
Head Up Vs. Head Down
The debate between hanging a deer head up or head down is ongoing. Each method has its benefits. Below are the key points:
- Head Up: Allows blood to drain from the neck, which is efficient for field dressing. It also prevents dirt and contaminants from reaching the meat as it hangs.
- Head Down: The gravity works in favor of the hunter, making it easier to skin and process the deer. Moreover, many believe this method helps with tenderizing the meat.
Using A Gambrel For Balance
For an even hang and stability, a gambrel is a hunter’s best friend. A gambrel secures the deer’s legs, providing a balanced suspension. Here’s how it helps:
- Attaches to the deer’s hind legs, creating a stable center of gravity.
- Makes rotating the carcass simpler for an all-around access while processing.
- Ensures the carcass hangs evenly, promoting uniform cooling and aging.
Credit: www.northamericanwhitetail.com
Aging The Venison
Properly aging venison is crucial for enhancing its flavor and tenderness. Hunters know this step transforms a good catch into a great meal. But, getting it right involves understanding the conditions and time required for optimal aging. Let’s dive into how to achieve the perfect aged venison right in your garage.
The key to aging venison is mirroring a professional environment. Aim for a constant temperature between 34°F and 37°F. These temperatures prevent bacteria growth while allowing enzymes to tenderize the meat. A garage refrigerator or a specially designed cooler can maintain this range. Alongside temperature, consider humidity. Target a humidity level of 85-90%. An inexpensive hygrometer can monitor these conditions.
| Condition | Ideal Range |
|---|---|
| Temperature | 34°F – 37°F |
| Humidity | 85% – 90% |
The duration of aging venison varies. It depends on the meat cut and your preference. Generally, seven to fourteen days is best for most cuts. Larger cuts can benefit from up to three weeks. During this time, enzymes break down tissues, developing a richer taste. Shortcuts can compromise meat quality.
- Standard Cuts: 7-14 days
- Large Cuts: Up to 21 days
Monitor the meat throughout the aging process. Look for color changes and odor to ensure the meat is aging correctly without spoiling. Keep these tips in mind, and your patience will reward you with exceptionally flavorful and tender venison.
Safety And Hygiene
Proper steps ensure safety and hygiene while hanging deer in a garage. It’s essential for quality meat. Let’s focus on how you can prevent contamination and manage pests and predators efficiently.
Preventing Contamination
Keeping the deer meat safe from contaminants is crucial. Follow these simple tips:
- Use clean tools: Sanitize knives and hooks before use.
- Wear gloves: This avoids direct contact with the carcass.
- Wrap the meat: Use game bags to protect against dust and insects.
- Avoid garage chemicals: Keep the carcass away from any chemicals.
Pest And Predator Management
Pests and predators pose a risk to hanging venison. Implement these effective strategies:
- Install garage door screens to keep insects out.
- Use rodent traps or repellents around the garage perimeter.
- Hang the deer above ground level to deter larger predators.
- Inspect the area regularly for signs of pests or disturbances.

Credit: www.amazon.com
Processing The Deer
After a successful hunt, processing your deer is the crucial next step. Doing this right in your garage can make the task comfortable and efficient. Here, you’ll learn how to skin and butcher your deer, as well as the best ways to package the meat for long-term storage.
1. Skinning And Butchering Tips
Proper skinning and butchering are essential to prevent contamination and ensure the best meat quality.
- Start skinning as soon as possible to avoid meat spoilage.
- Use a sharp knife and make clean cuts to separate the skin from the meat.
- Remove all the fat and connective tissue; this will improve the taste and ease the packaging.
- Cut the meat into manageable sections – think about the cuts of meat you prefer.
Keep everything cold to slow bacterial growth. Use a gambrel to hang the deer for easier processing.
2. Packaging The Meat For Storage
Freshly butchered venison must be stored safely to retain its quality.
- Wrap the meat in freezer paper, plastic wrap, or seal in a vacuum sealer.
- Label each package with the cut type and date for organized storage.
- Avoid freezer burn by ensuring the meat is tightly sealed and has no air pockets.
Proper packaging ensures that when it’s time to cook, your venison is as fresh and flavorful as the day you processed it.
Credit: www.ebay.com
Frequently Asked Questions On Deer Hanging In Garage
Why Hang Deer In A Garage?
Hanging a deer in a garage allows it to cool down, which is crucial for preserving the meat’s quality. This process, known as aging, tenderizes the meat and enhances its flavor by giving enzymes time to break down muscle fibers.
How Long Should A Deer Hang Before Processing?
The duration for hanging a deer can vary from 1 to 2 weeks, depending on temperature and personal preference. Cooler temperatures, between 34°F and 40°F, are ideal for hanging deer to prevent spoilage and allow proper aging.
What’s The Best Way To Hang A Deer?
The best way to hang a deer is by using a gambrel hook through the hind legs, suspending it head-down. This position drains blood efficiently and provides easy access for skinning and butchering.
Is It Safe To Hang Deer In Warm Weather?
Hanging deer in warm weather can be risky due to bacterial growth. If temperatures exceed 40°F, it’s recommended to process the deer quickly or use a refrigerated space to mimic colder temperatures.
Conclusion
Hanging a deer in your garage requires attention to detail and proper technique. By following the steps outlined, hunters can ensure safe and efficient processing. Remember, respecting wildlife and local laws is paramount. With these tips, your venison is ready for the next stage—delicious, home-cooked meals.
Happy hunting and safe processing!

