
To clean a deer skull found in the woods, remove flesh and simmer in a mixture of water and enzyme-based detergent. Follow this by gently scrubbing and whitening with hydrogen peroxide.
Discovering a deer skull in the woods can feel like a unique treasure for enthusiasts of natural history or rustic decor. It’s crucial, however, to clean it properly to preserve its integrity and ensure it’s safe for display or study.
This task requires patience, care, and the right approach to achieve a clean, bleached skull without damaging it. The process not only involves basic cleaning but also degreasing and whitening, steps that ensure the skull maintains its natural shape and strength. Doing this correctly could result in an impressive piece for educational purposes or a striking and natural addition to your home’s decor.
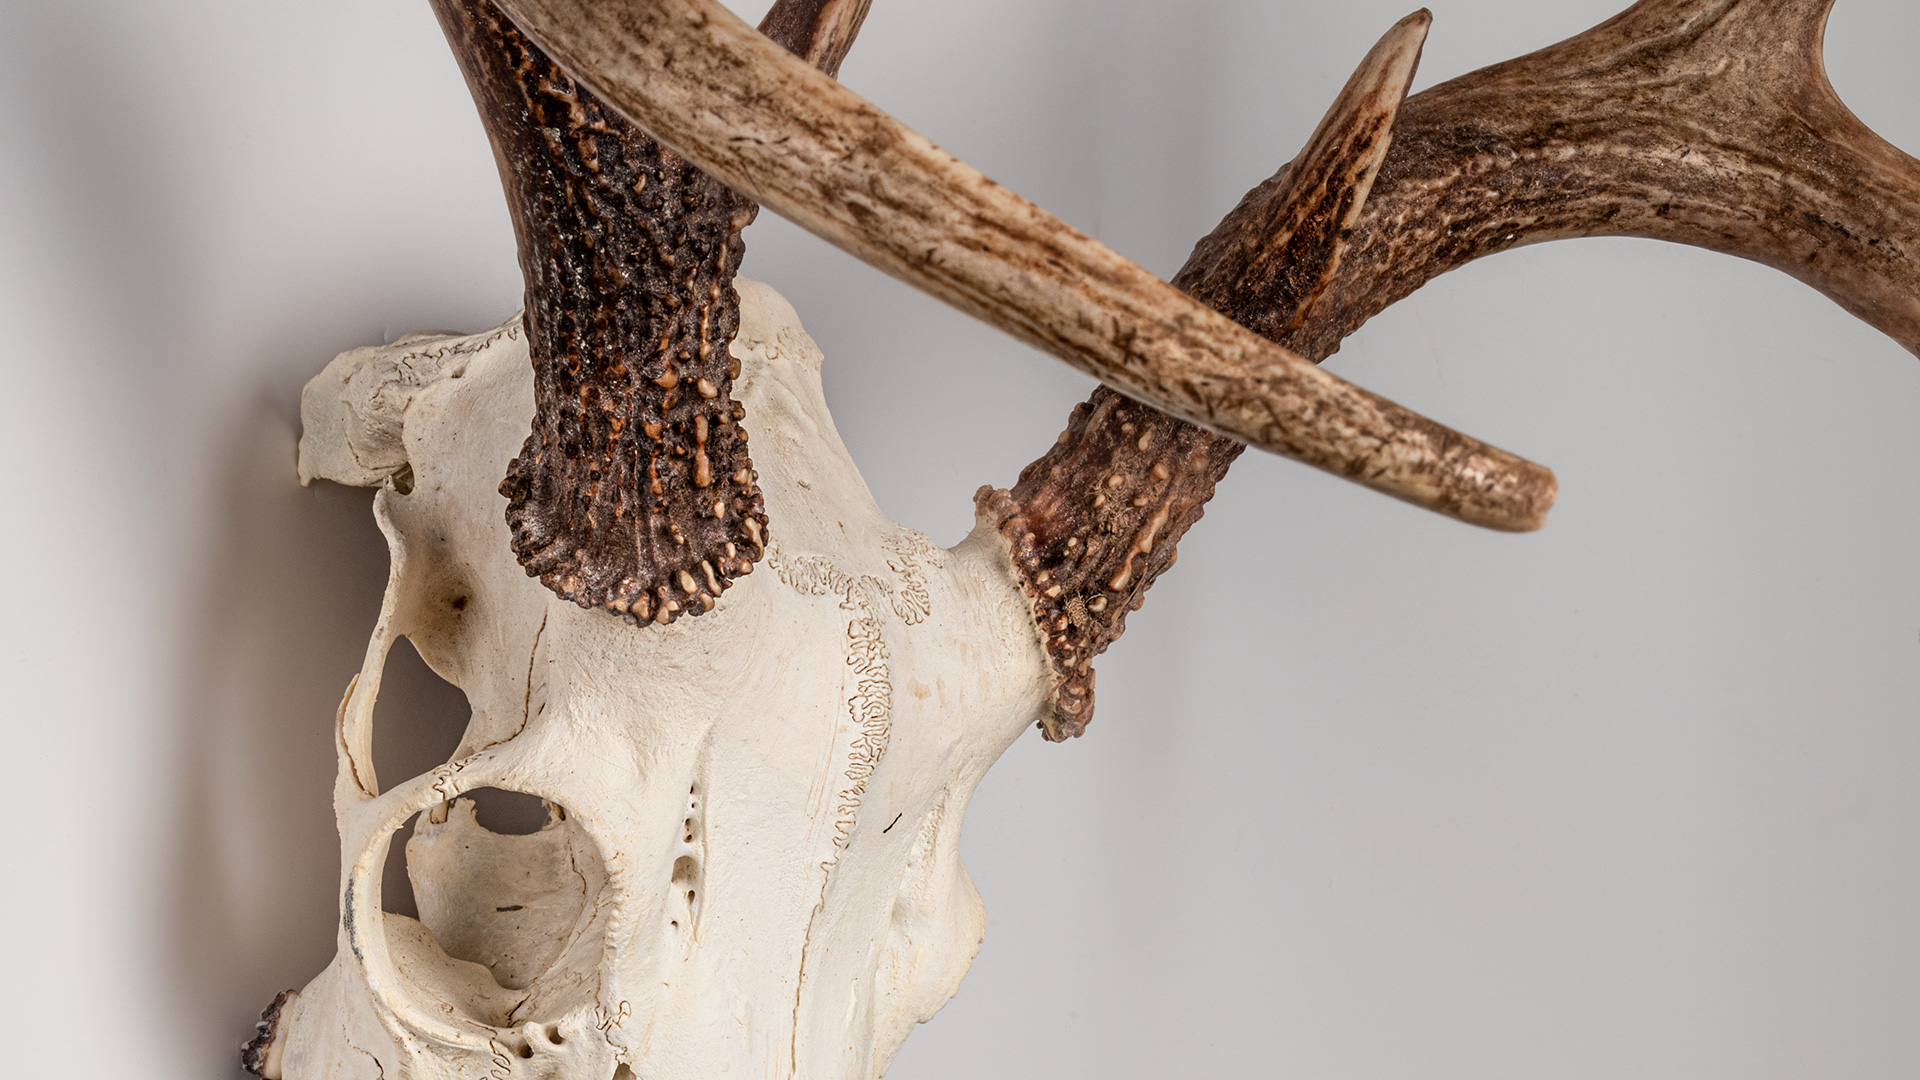
Credit: www.americanhunter.org
Cleaning Essentials And Preparations
Finding a deer skull in the woods can be an exciting discovery for any outdoors enthusiast or taxidermy hobbyist. Cleaning the skull properly is essential to preserve its beauty and integrity. The process begins with the right tools and safety measures.
Gathering Your Tools
Before starting, gather the necessary tools:
- Gloves to protect your hands
- Plastic tub for soaking
- Hydrogen peroxide for bleaching
- Soft brushes and scrapers for cleaning
- Dish soap for degreasing
- Paper towels for drying
Safety Measures To Consider
Here are key safety measures:
- Wear protective gloves at all times.
- Ensure adequate ventilation if using chemicals.
- Avoid inhaling dust or bone particles.
- Keep tools clean and sanitized.
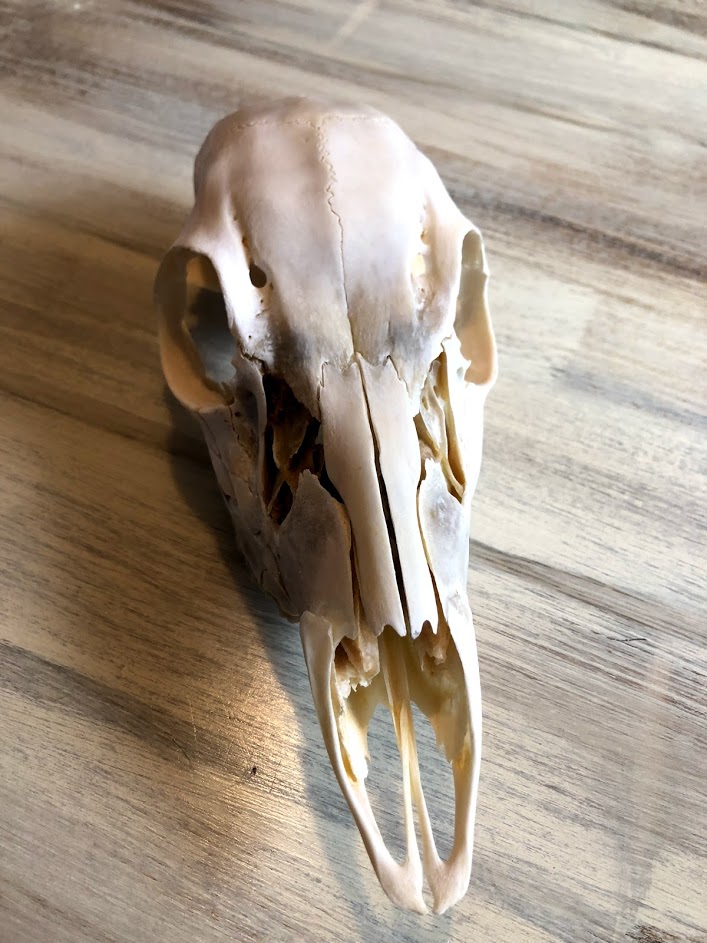
Credit: misspursuit.com
First Steps And Field Cleaning
Stumbling upon a deer skull in the woods can be both exciting and unsettling. But for enthusiasts, it presents a unique opportunity to clean and preserve a piece of natural history. The process begins with proper field cleaning, an essential step to prepare the skull for further cleaning and whitening treatments. Here’s how to get started:
Removing Debris And Tissue
Immediate attention is crucial to prevent decay and odor buildup. Wearing gloves, carefully remove any loose debris clinging to the skull. Large pieces of tissue can be gently pulled away using your hands or a set of tools like pliers or tweezers. A soft brush helps dislodge smaller particles. Aim to clear as much organic matter as you can without damaging the bone.
Initial Rinse And Inspection
Once the surface debris is cleared, an initial rinse with water helps wash away any remaining dirt. Use a hose or a bucket of water for this step. As you rinse, inspect the skull for any damage or areas needing extra attention. Note signs of grease and remaining tissue as they will need targeted cleaning later on. Ensure a thorough rinse, but avoid soaking the skull as extended exposure to water can compromise the bone integrity.
| Step | Action | Tools |
|---|---|---|
| 1 | Remove large debris and tissue | Gloves, pliers, tweezers |
| 2 | Brush off small particles | Soft brush |
| 3 | Rinse with water and inspect | Hose or bucket |
Flesh Removal Techniques
Discover the essentials of cleaning a deer skull with efficient flesh removal techniques. Perfect your skills in preparing a stunning woodland trophy through careful and detailed methods.
Finding a deer skull in the woods can be exciting. Yet cleaning it is a task that requires the right approach. Flesh removal is the first crucial step to prepare the skull for display or study. Below are effective techniques to remove flesh from bone. Choose the method that works best for you.
Boiling The Skull
Boiling is a common technique for cleaning skulls. Follow these steps:
- Fill a pot with enough water to cover the skull.
- Add a dash of dish soap to help break down oils and fats.
- Heat the water until it simmers, not boil.
- Submerge the skull for one to two hours.
- Check and gently remove loosened flesh.
- Repeat if necessary, being careful not to overcook the bone.
Never leave the skull unattended while it’s in hot water, as bones can get damaged.
Using Dermestid Beetles
Dermestid beetles are nature’s cleaners. This is how you use them:
- Place the skull in a container that beetles can’t escape from.
- Add a colony of dermestid beetles to the container.
- Ensure the beetles have appropriate temperature and humidity to thrive.
- Wait for the beetles to clean off all the flesh, which can take days or weeks.
This method is efficient and protects the skull’s delicate features. It requires patience but yields excellent results.
Manual Fleshing Methods
Manual fleshing gives you control over the cleaning process. Consider these tools:
- Sharp knives for cutting away large flesh pieces.
- Scalpels or razor blades for detailed work around intricate bone structures.
- Tweezers and needle-nose pliers for pulling out remaining tissue and hair.
Work carefully to avoid damaging the bone. Wear gloves for safety. This method is time-intensive but allows for precision.
Degreasing And Whitening
Discover the secrets to transforming a grimy forest find into a stunning display. Proper degreasing and whitening ensure that the skull lasts for years. This guide will make the process simple and effective.
Chemical Solutions For Degreasing
Start by removing fats and oils. Degreasing is vital for a clean skull.
- Dish soap: Soak the skull in a warm bath mixed with dish soap for a week.
- Ammonium hydroxide: Apply this stronger solution for stubborn grease.
- Enzyme-based cleaners: These can break down organic matter effectively.
Sun-bleaching Vs. Peroxide
Select your whitening method with care once the skull is grease-free.
| Method | Benefits | Considerations |
|---|---|---|
| Sun-bleaching | Natural and cost-free | Results may vary; UV damage |
| Peroxide | Consistent whiteness; no UV damage | Use 3% solution to avoid brittleness |
For quality results, mix hydrogen peroxide with warm water. Soak the skull for 24 hours.
Finishing Touches
Now that your deer skull is clean, the “Finishing Touches” will bring out its natural beauty. These final steps will ensure your skull is both display-worthy and preserved for years to come. We’ll focus on detailing the skull for a refined look and then sealing and protecting the bone.
Detailing The Skull
Giving the skull a detailed finish is all about precision and patience. Here’s how to enhance its intricate features:
- Use a soft brush to remove any lingering debris.
- Inspect the skull for missed spots or areas needing more cleaning.
- Small dental picks are great for tight spaces.
- For optimal results, work in a well-lit area.
- Take your time to bring out the skull’s unique details.
Sealing And Protecting The Bone
To safeguard your deer skull, a protective sealant is key. This will maintain the bone’s integrity and appearance. Follow these steps:
- Choose a clear sealant designed for bone.
- Ensure the skull is completely dry before applying.
- Apply the sealant with a soft brush, covering all surfaces evenly.
- Allow the skull to dry thoroughly before handling.
This extra effort safeguards the skull against damage and decay. Your trophy now shines as a testament to both nature’s elegance and your conservation efforts.

Credit: www.wikihow.com
Displaying Your Cleaned Skull
After finding and cleaning a deer skull in the woods, it’s time to display your trophy. This incredible natural piece brings a rustic touch to any room. Yet, presentation is key to making it a focal point in your décor. Ready to show off your find? Let’s look at how to mount and display your cleaned deer skull properly.
Choosing A Mount
- Wall Mounts: Save space and create a dramatic effect.
- Table Mounts: Great for showcasing on mantels and shelves.
- Custom Pedestals: Add a personal touch with a carved wood or metal stand.
Select a mount that highlights the unique features of your skull. Consider the size and weight for safety and stability. Explore various types for the best visual appeal.
Environmental Considerations For Display
Direct sunlight can damage your skull over time. Find a spot away from windows. Humidity and temperature changes can cause expansion and contraction, potentially harming the skull. Mild, stable climates work best for long-term preservation.
| Environment | Impact on Skull |
|---|---|
| High Humidity | Increases risk of mold and degradation. |
| Direct Sunlight | Fades and weakens bone structure. |
| Temperature Fluctuations | May cause cracking or warping. |
Choose a display area that protects and preserves the skull’s beauty. A controlled indoor environment is ideal. A dedicated display cabinet or protected shelf also offers added defense against environmental stresses.
Frequently Asked Questions On How To Clean A Deer Skull Found In The Woods
What’s The Best Method To Clean A Deer Skull?
The best method involves maceration, degreasing, and whitening. Submerge the skull in water for maceration. Afterward, degrease with dish soap or ammonia. Finally, whiten using hydrogen peroxide for a clean, display-worthy skull.
Can You Clean A Found Deer Skull At Home?
Yes, you can clean a deer skull at home using household items. You’ll need water for soaking, enzymes or soap for degreasing, and hydrogen peroxide for whitening. Patience is key, as the process can take several days.
How Long Does It Take To Clean A Deer Skull?
Cleaning a deer skull typically takes several days to weeks. Maceration requires a few days to weeks. Degreasing can take up to a week, depending on the skull’s condition. Whitening may require several hours to days.
What Materials Are Needed To Clean A Found Deer Skull?
You’ll need a large container for soaking, water, dish soap or a degreaser, a brush, and hydrogen peroxide for whitening. Protective gloves and eyewear are recommended for safety during the cleaning process.
Conclusion
Cleaning a deer skull from the woods can seem daunting at first. Yet, with the right tools and patience, it’s fully achievable. Remember to prepare your workspace, follow safety protocols, and be patient through the process. Whether for a natural display or educational purposes, your efforts will ensure your forest-found treasure is preserved with respect and care.
Happy cleaning!

